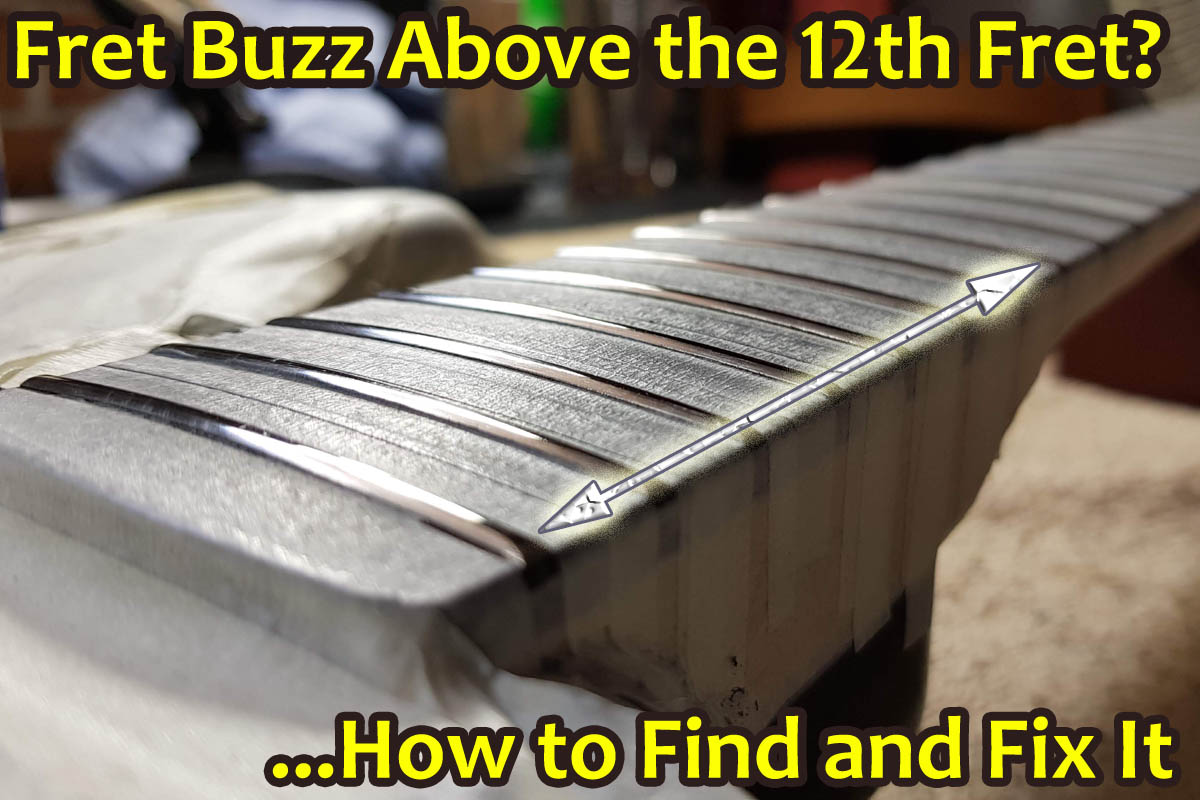
Fret Buzz Above 12th Fret: Why It Happens & How to Fix It
It’s frustrating when your guitar plays well at lower frets, but keeps getting fret buzz on higher frets above the 12th fret.
Beginners won’t usually notice something like this, but as you start to get more advanced at playing you will be using the higher frets far more often.
Fret buzz on high frets above the 12th can be caused by uneven fret height, a neck joint or neck angle problem, a back-bowed neck, or action set too low at the bridge. Raising the bridge saddle height and/or adjusting neck relief often solves the problem.
Some of these problems can be quickly and easily fixed, but other issues like uneven frets or a warped neck may require the expertise of a guitar tech.
Your first step is to determine what the cause of your high fret buzz is, and then see if it can be easily fixed yourself. This can save you money and time, and if you do need to take your guitar to a professional it’s good to have an idea of what they need to do to fix the problem.
Why Does My Guitar Buzz on the 12th Fret?
Many acoustic guitars have the neck joined to the body at the 12th-14th fret, especially non-cutaway full bodied guitars.
Sometimes over time the neck joint can settle or move slightly over time. This can be due to changes in temperature or humidity, the way your guitar is stored, or wood not being seasoned long enough before being made into a guitar.
The effect is that you can get a neck hump and high fret in this area that can cause buzzing at the 12th fret.
One way to spot this is to look down the neck from near the tuners, and should be able to see any slight lump in the fingerboard or high fret near the neck joint.
How Do You Get Rid of High Fret Buzz?
High fret buzz can be easily reduced or fixed in many cases where the frets in this area are reasonably level.
There can be a few reasons why buzz happens here, so let’s look at a few causes of fret buzz above the 12th fret, and how you can fix these problems.
1. Adjusting the Truss Rod to Stop High Fret Buzz
One way to slightly raise the action at the higher part of the fretboard is to adjust the truss rod, which will change the curve (relief) of the neck.
If your neck has almost no gap, then this can be the cause of your higher fret buzz, and you could loosen the truss rod slightly, making the strings a little higher.
- Note: If you create too much forward bow in the neck, and set a low playing action this often causes fret buzz at higher frets.
Many truss rods are designed to work in two directions, so you can loosen them to let the neck curve up more, or tighten them to pull the neck flat or create a hump in the center of the neck.
The trick with truss rod adjustment is to measure the relief around the 8th fret, which is seen as the gap between the string and fret.
Here’s how to do it:
- First, tune your guitar to the pitch you want to play (concert pitch, open tuning, etc).
- For the most accurate setting, set your guitar in the playing position, place a capo on the first fret, and then hold the low E string down at one of the highest frets.
- You want to see a gap of about 1/64 inch (0.2mm) between the string and the 7th-8th fret (wherever the mid point is from the nut to the neck joint).
- If the gap is too small you need to loosen the truss rod slightly to let the string tension bow the neck upward. If the gap is too large, you need to tighten the truss rod to pull the neck down flatter.
2. Fret Buzz on Higher Frets Due to Low Action
If you have a low action set on your guitar fret buzz is more likely to happen. For guitars without any fretwork done, you would expect fret buzz if the action is set too low, and the easy answer is to raise the strings at the bridge.
- Most electric guitars can often have the action set to under 0.08” (2mm) on the low E string at the 12th fret, with the high E string around 0.06” (1.5mm).
- Acoustic guitars can have a low E string action of around 0.09” (2.3mm), and high E string around 0.07” (1.8mm) at the 12th fret.

Baroque String Action Ruler Gauge
- Suitable for guitar, bass, ukulele, banjo, mandolin and other stringed instruments.
- Military quality, laser etched high strength stainless steel.
- Precise and clear calibration in Inches and millimeters.
- A must have tool for every serious player.
The action numbers above are only a guide, and also for guitars with frets in good condition. You can go about 0.02” (0.5mm) higher and still get a great playing experience while reducing fret buzz for many guitars.
This can be done a little at a time, playing and listening each time until the buzz is reduced to an acceptable level, or stops completely.
This is easy on electric guitars with adjustable bridges, but not so easy on an acoustic guitar where you need to raise the saddle (probably needing the saddle replaced).
3. Neck Angle Causing High Fret Buzz
If you find that you have adjusted the neck relief correctly, and can’t set the bridge high enough for the strings to clear the frets, then it’s likely your neck is set on the wrong angle.
If the neck sits back too far, this creates a rise in the fretboard at frets past the mid-point of the neck, and with a low action will cause fret buzz at higher frets.
Some guitars have this problem, and it may have been hidden by having a large forward-bow in the neck (and you wondered why your guitar was so hard to play!).
This can happen on any guitar due to any number of circumstances, and for set neck guitars you will need expert help from a luthier to fix this problem.
If you have a bolt-on neck electric guitar, then you can remove the neck and place a shim in the neck pocket to change the angle until the neck lines up with the bridge.

Brass Shims for Guitar and Bass Bolt-on Neck Repair
- High quality solid brass.
- Elevate and angle the neck to improve setup.
- Includes 3 thickness sizes: 0.2mm(4Pcs), 0.5mm(2Pcs) and 1mm(2Pcs).
- Designed to fit onto most electric guitars and basses.
- One thing to note about shimmed necks is that a small shim placed under one edge can cause warping that could see a slight hump in the fretboard above the shim.
- Also with small neck shims, they can cause a rise in the tongue (highest part of the neck) due to the small air gap and clamping pressure of the neck bolts.
4. Check the Radius of Your Guitar Strings
If someone has played with the height of your strings before (especially on electric guitars), then there is a chance that the strings are not set to follow the same curve as the frets.
This could cause some strings to be set too low, while others are set correctly. This can make some strings buzz and not others.
To check this, you will need a set of string radius gauges. They are a cheap and effective tool that I recommend all electric guitar players to invest in.

Guitar Luthier Tools Set Including Guitar Radius Gauge
- Quality guitar gauge set made from stainless steel
- Understring radius gauge: comes in 9 sizes.
- String action gauge ruler: Measure string height, bridge saddle height, nut height, and more.
- Notched radius gauge: includes 2 narrow radius gauges and 2 wide radius gauges.
To use a radius gauge:
- Ensure the high and low E strings (1st and 6th strings) are set to the correct height.
- You should have a set of 4-6 gauges. Place each one on the fingerboard until you find the correct gauge to match your radius.
- Then place the gauge under the strings near the bridge with a very light pressure so you don’t lift any of the strings. The gauge should only lightly touch the strings.
- If any of the center strings don’t touch the gauge, adjust the height until they all lightly touch the radius gauge.
5. Check Your Bridge
This step may or may not apply to you, and depends on your bridge type.
For LP and SG style electric guitars with a Tunomatic® bridge, these bridges have often been known to sag in the middle which gives inconsistent string height across the bridge.
As we discussed above, any strings set with too low action will get fret buzz.
You can test your Tunomatic®bridge by placing a metal straight-edge or ruler across the top to see if your bridge is still flat.
For acoustic guitars, check the saddle carefully where the strings sit. If there are grooves worn into the saddle you will get some strings sitting lower than others, and can get high fret buzz as a result.
6. Check the Fret Leveling
If you haven’t had any luck with the first steps, then you might find your frets are not even in the high ranges.
To check them:
- You will need a fret rocker, or basically any accurate straight edge metal that can fit along the top of 3 frets.
- The idea is to work your way up and down the fretboard between all strings and see if the rocker can rock sideways across any 3 frets.
- If you find any high places on frets your rocker will be able to move a little and for a low action you will either need to get those high spots dressed down, or get a luthier to level the fretboard.

Professional Fret Rocker & String Height Gauge
- High quality 6061 aluminum and with sapphire blue oxidation.
- For electric & acoustic guitar, bass,mandolin, banjo, etc.
- Conversion chart of string action at 12th fret.
- Scale for string height.
Leveling frets is a more advanced guitar setup step, normally requiring a professional guitar tech to carry out the work.
You can do this at home, but you will need a few tools and probably some sacrificial guitars to learn on! For the majority of guitarists it is cheaper and more reliable to get a luthier to do this work.
7. Ramp the Frets to Stop Fret Buzz Above 12th Fret
If you find that above the 12th fret everything seems nice and flat, your action is not crazy low, and your string radius is correct – then your frets may need ‘ramping’.
Some acoustic guitars can over time also develop an upward tilting fretboard tongue (where the fretboard rides over the body).
For nice low action it’s a good idea for the higher frets only to have a slight ramp downward on the higher frets, and can effectively stop fret buzz on frets after the 12th fret..
This ramp effect is only very slight, but just gives slightly more clearance in this area as you get closer to the bridge.
Getting this ramp right takes practice, and this is another job for an experienced luthier.
8. Check the Height of Electric Guitar Pickups
Pickups can be adjusted in height, with the aim being to get a good even sound from all strings.
If you have the pickups too close to the strings, the magnets in the pickups will pull the strings down slightly when you play at higher frets, and can cause fret buzz, a loss of sustain, and intonation problems.
Bridge pickups can be a little closer than neck pickups, since the string is bent down further at the neck pickup when playing.
A good general rule is around 3/32 (2.4mm) at the high E string, and 4/32 (3.2mm) at the low E string when holding the string down at the last fret.
9. Checking For a Warped Or Twisted Neck
If you look down the length of your guitar’s neck and can see an unusual hump or dip, or the neck has a twist along the length this could be causing problems.
For a more severe twist where the action was changed at the bridge to compensate for the twist you could certainly get some high fret buzz.
This is very involved to repair, normally needing the frets or entire fretboard removed, and the neck re-shaped.
Buzz Off Buzz!
One of these adjustment steps is sure to eliminate your buzz above the 12th fret, and in many cases you will be able to work out the problem yourself.
Even if you need some pro help to get rid of your buzz, now you will have a better understanding of what causes this problem.
To summarize, the main reasons you can get fret buzzing at the 12th fret, or on high frets are:
- Incorrect neck relief.
- A neck hump above the joint.
- A raised fretboard tongue.
- Incorrect neck angle.
- Uneven or raised frets.
- Incorrect string radius.
- Action too low.
- Sagging bridge.
- Pickups too high.
- A warped neck.