Guitar Shielding Paint Vs Copper Tape (Which is Best?)
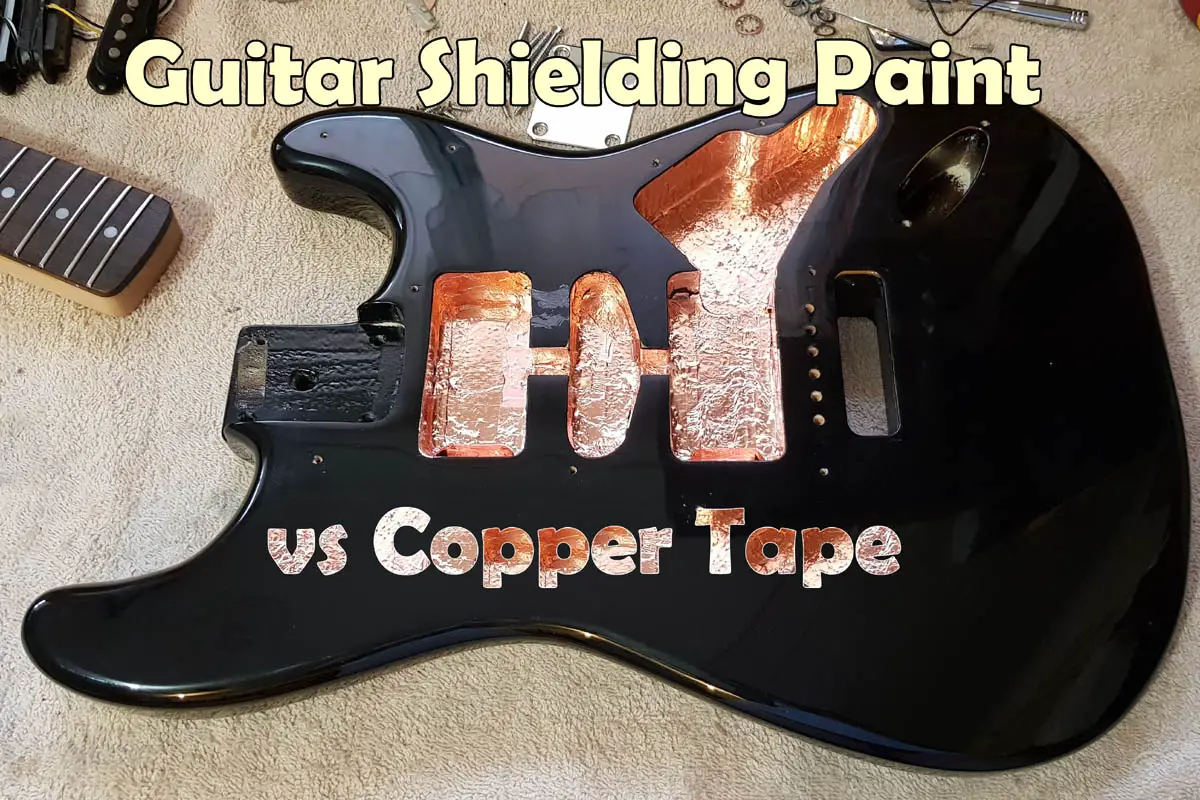
When it comes to shielding the cavities in your electric guitar there are a few choices, with shielding paint and copper tape being the most commonly used.
They both effectively let you create a Faraday cage around your guitar’s electronics, which significantly reduces the noise of single coil pickups due to electromagnetic interference (EMI).
Both methods do the job well, but if you’re not experienced with them you may be wondering if one is easier to use than the other, or how long each type of shielding lasts?
Let’s take a look at the pros and cons of these guitar shielding solutions so you can choose the one that best suits your guitar, and gets the job done so you don’t have to come back and do it again in the future.

How Much Does Shielding Paint & Copper Tape Cost?
Copper tape with a conductive adhesive (sticky) backing is cheaper than conductive paint, usually costing around $10 for a roll that will shield one guitar.
Shielding paint will cost you from $15 to $30 for enough to shield your guitar.
This can depend on a few factors such as:
- If you want 3 or more layers of paint for a better shielding effect (which I highly recommend).
- If you want to shield the bottom of your pickguard (again, highly recommended).
- The quality of the shielding paint.
You can shield your electric guitar with conductive paint almost as cheaply as copper tape, but you will find the result isn’t as good if you skimp on the quality or amount of paint used.
Does Copper Tape Stop Noise Better Than Conductive Paint?
Copper tape gives a great shielding result as copper is very conductive, and has a set thickness giving it a low electrical resistance.
With conductive paint, this can depend on the conductive material in the paint, and the concentration of that material.
A good quality conductive shielding paint will contain plenty of graphite, where cheaper versions will have carbon and won’t give as good a shielding result.
You can certainly get a good result from shielding paint that will match or even beat copper tape, however you really need to use a quality paint, and apply three or more separate layers to build it up.
Keep in mind that if you use the cheapest copper tape you can find, the sticky backing might not be as strong as better quality tape, and you could get separation at joins which could give poor shielding results some time in the future.
One area where copper tape is more reliable is the critical connection to the guitar’s earth wire, and a poor connection here will eliminate all your hard work shielding your guitar.
If you remove the earth wire connection and re-attach it with a painted cavity, you could get a poor connection.
Can You Shield the Pickguard With Shielding Paint?
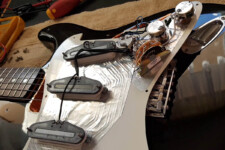
Yes, shielding paint will work on the back of a plastic pickguard, although for the best adhesion it’s best to rough up the surface with some emery paper first.
Note that the shielding on the pickguard will not work unless it connects to the main earth in the guitar (this applies to copper tape as well).
The main reasons why you might choose not to shield the pickguard with paint are:
- If the pickguard flexes too much the paint could crack, making a poor connection.
- The mess involved to paint vs the ease of sticking copper tape on the flat surface.
Make sure if you use paint, to have a good thickness of paint where the surface connects to the internal shielding or earth wire to ensure a solid connection.
Whether you decide on copper tape or conductive paint, make sure you clean the pickguard with isopropyl alcohol or grease remover before applying the shielding material to get good adhesion.
Which Type of Shielding Is Easiest to Apply?
Conductive shielding paint is easier to apply than copper tape, since all you need to do is paint it on with a paintbrush. If it is acrylic based you can wipe off excess with a damp cloth, but some types require isopropyl alcohol to wipe off excess.
If your guitar is a cheaper model, then you may find the surface inside the cavities is very rough, and conductive paint is probably a better choice in this case than copper tape.
An area that gets forgotten is the narrow hole where the input jack wire comes through to the main electronics cavity. Paint is ideal for this area, and can be applied with a cotton bud or felt lined wire.
One downside of applying conductive paint is the amount of time you need to wait for it to dry between coats. With 3 coats or more usually needed at 24 hours drying per coat – well, you do the math!
Copper tape is more tricky to apply since you need to cut it into strips, and make extra cuts to allow you to mold it around the odd shapes in your guitar’s cavities (don’t forget the input jack cavity!).
Copper tape shielding obviously cant be placed in the small input jack wire hole. The best option there would be to twist the input jack wires around each other to create a shielding effect, or replace the wire with a braided shield cable.
Once you stick the copper tape in place, it is ready to use instantly without the drying time of shielding paint.
Make sure with either shielding method that you clean the cavities well before applying the tape or paint to ensure it sticks well to the surface.
Does Copper Tape Last Longer Than Paint?
Both copper tape and paint will last the lifetime of your guitar, however to remain effective it relies on the quality of the products.
If the individual copper tape sheets become separated you can get a poor connection, and if paint is too thin or becomes damaged around the earth connection it will also become ineffective.
So no matter which shielding method you choose, just make sure to use quality products and take your time to do a good job.
Can Shielding Paint or Copper Shielding Tape Be Removed?
If you’re not sure about leaving shielding in your guitar permanently, then copper tape would be the best option.
Paint is very difficult to remove, and you would have to use sandpaper and a scraper to remove it from the guitar’s surface.
Copper tape on the other hand is easier to remove as you can peel up the sheets without any damage to your guitar.
Some Final Tips
Many people attempt to shield their guitars and then complain that it made no difference in sound at the amp.
This is normally because they forget to connect the ground wire to the shielding, and forget that the shielding under the pickguard also needs to connect to the ground.
You only get a shielding effect when the entire metal ‘box’ you have made in the electronics cavity is all connected together.
When you shield the cavity, make sure to have some tabs of copper tape or sections of paint that come up over the edge of the cavities so it can touch the underside of the shielding on the pickguard.
The best way to test your handiwork is with a multimeter. Just set it to Ohms (the omega symbol), and test your shielding at different places with the two leads to make sure the meter goes to zero each time.
Also test from the shielding back to the bridge and input jack, and then you will be sure your shielding is good.
Finally, if your guitar has humbuckers installed, shielding will not have a great effect like it does with single coil pickups.


