How to Choose the Best Audio Interface for Recording Guitar: A Beginner’s Guide
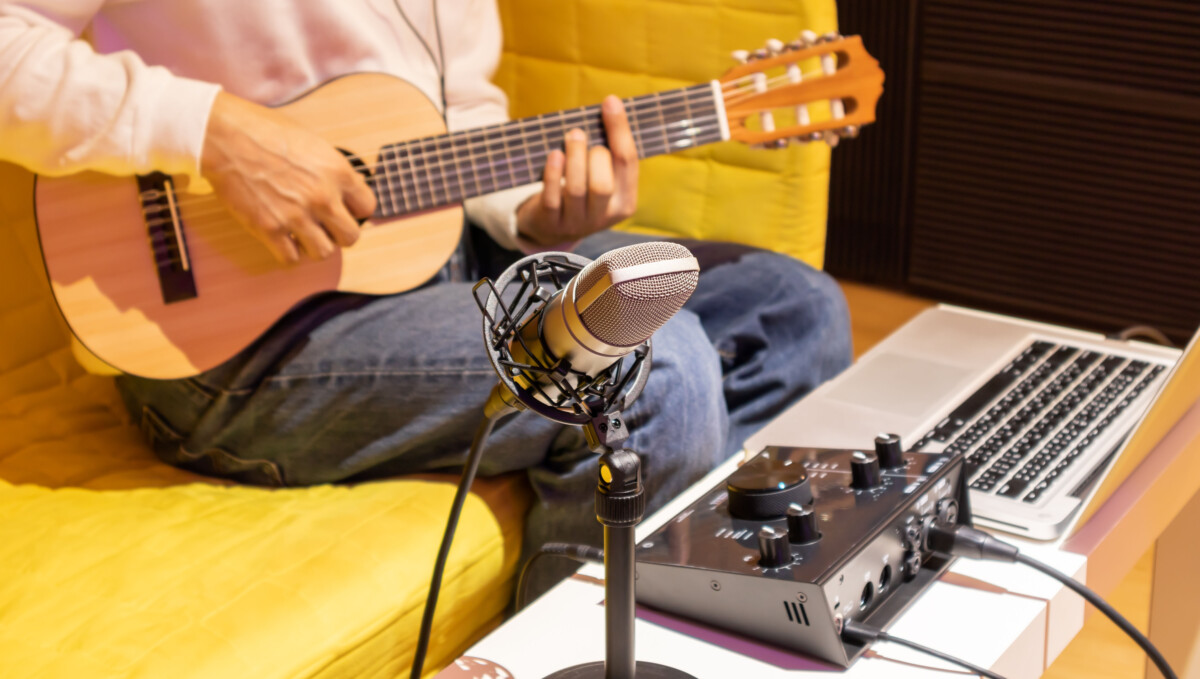
If you want to record your guitar playing on your computer, you will need an audio interface. This is a device that connects your guitar to your computer, and converts the analog signal from your guitar into a digital signal that your computer can process. An audio interface also allows you to monitor your sound through headphones or speakers, and adjust the input and output levels.
But how do you choose the best audio interface for recording guitar? There are many factors to consider, such as the number of inputs and outputs, the quality of the preamps and converters, the compatibility with your computer and software, the latency, price, and more.
In this article, we will guide you through the process of choosing the best audio interface for recording guitar, based on your needs and preferences. We will also review some of the best audio interfaces for guitarists in 2023, and give you some tips on how to use them effectively.
What is an Audio Interface and Why Do You Need One?
Before we dive into the details, let’s first explain what an audio interface is and why you need one. An audio interface is a device that acts as a bridge between your guitar and your computer.
Audio interfaces have two main functions:
- To convert the analog signal from your guitar into a digital signal that your computer can understand and process. This process is called analog-to-digital conversion or ADC.
- To convert the digital signal from your computer back into an analog signal that you can hear through headphones or speakers. This process is called digital-to-analog conversion or DAC.
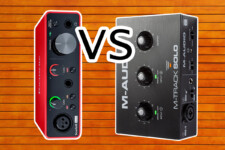
Popular Audio Interfaces:
| Popular Interfaces | Audio Interface Model | Compare Interface Models |
|---|---|---|
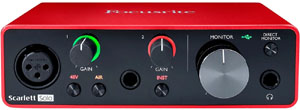 | Focusrite Scarlett Solo 3rd Gen | Read Focusrite Reviews |
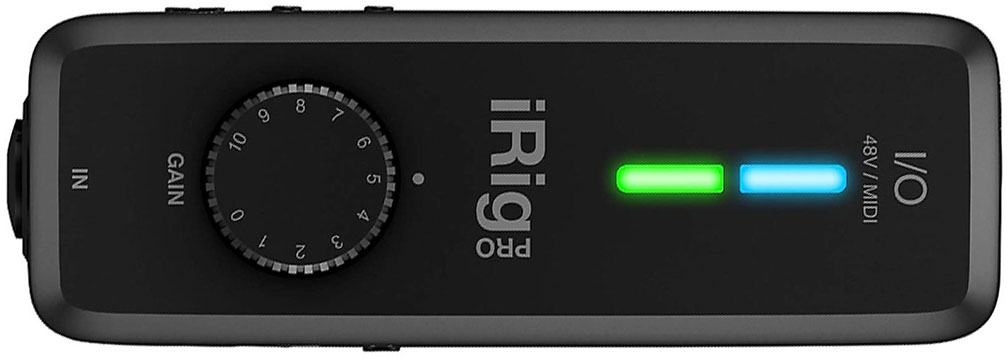 | iRig Pro I/O | Read iRig Reviews |
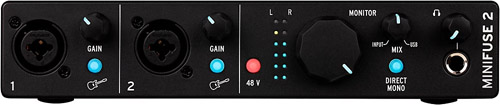 | Arturia MiniFuse (series) | Read Arturia Reviews |
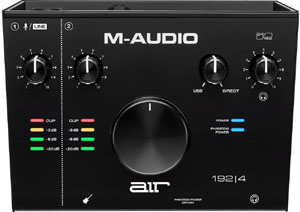 | M-Audio Air (series) | Read M-Audio Reviews |
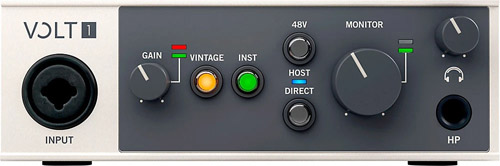 | Universal Audio Volt (series) | Read UA Volt Reviews |
 | PreSonus AudioBox (series) | Read PreSonus Reviews |
Audio Interface Features
- Inputs and outputs: These are the physical connections that allow you to plug in your guitar, microphone, headphones, speakers, and other devices. The number and type of inputs and outputs vary depending on the audio interface model. Some common types are XLR, TRS, RCA, MIDI, USB, and optical.
- Preamps: These are circuits that boost the signal level from your guitar or microphone before it reaches the ADC. Preamps can affect the tone and quality of your sound, so it’s important to choose an audio interface with good preamps.
- Phantom power: This is a feature that provides 48V of electricity to condenser microphones, which need external power to operate. If you plan to use a condenser microphone for recording vocals or acoustic guitar, you will need an audio interface with phantom power.
- Direct monitoring: This is a feature that allows you to hear your guitar sound directly from the audio interface, without going through the computer. This can reduce or eliminate the delay or lag between playing and hearing your sound, which is called latency.
- Gain knobs: These are knobs that allow you to adjust the input level of your guitar or microphone. You want to set the gain level high enough to get a clear and loud signal, but not too high that it causes distortion or clipping.
- Volume knobs: These are knobs that allow you to adjust the output level of your headphones or speakers. You want to set the volume level comfortable enough to hear your sound, but not too loud that it damages your hearing or equipment.
You might wonder why you need an audio interface if you have a sound card in your computer? The answer is that most sound cards are not designed for recording music, especially guitar. They have low-quality preamps and converters, limited inputs and outputs, high latency, and poor compatibility with music software. An audio interface can solve these problems and provide you with a better sound quality, more flexibility, lower latency, and more compatibility.
How to Choose the Best Audio Interface for Recording Guitar
Now that you know what an audio interface is and why you need one, let’s see how you can choose the best one for recording guitar. There are many factors to consider when choosing an audio interface, but here are some of the most important ones:
Your Budget
Audio interfaces come in different price ranges, from under $100 to over $1000. Of course, more expensive models tend to have better features and quality, but that doesn’t mean you have to break the bank to get a good audio interface. You can find some decent models for under $200 that can suit your needs. However, you should also avoid buying super cheap models that might compromise your sound quality or reliability.
Your Recording Goals
What do you want to achieve with your recordings? Do you want to record simple demos or professional tracks? Do you want to record only guitar or other instruments as well? Do you want to record one track at a time or multiple tracks simultaneously?
These questions can help you determine the number and type of inputs and outputs you need, as well as the quality of the preamps and converters. For example, if you want to record only guitar, you might only need one or two inputs, but if you want to record vocals or drums as well, you might need more.
Similarly, if you want to record professional tracks, you might want to invest in an audio interface with high-quality preamps and converters, but if you only want to record demos, you might be fine with a lower-quality model.
Your Computer and Software
What kind of computer and software do you use for recording? Do you have a PC or a Mac? Do you use Windows or Mac OS? Do you use a desktop or a laptop? Do you use a specific DAW (digital audio workstation) or a general-purpose software?
These questions can help you determine the compatibility and connectivity of your audio interface. You want to choose an audio interface that works well with your computer and software, without causing any issues or conflicts. You also want to choose an audio interface that has the right connection type for your computer, such as USB, FireWire, Thunderbolt, or PCIe. Some audio interfaces might require additional drivers or software to function properly, so make sure to check the compatibility and requirements before buying.
Your Personal Preferences
Finally, you should also consider your personal preferences and tastes when choosing an audio interface. Do you like the design and layout of the audio interface? Do you find it easy to use and operate? Do you like the sound and tone of the audio interface? Do you trust the brand and reputation of the audio interface? These questions can help you narrow down your choices and find the audio interface that suits your style and personality.
The Best Audio Interfaces for Guitarists in 2023
If you’re looking for a new audio interface to record your guitar playing on your computer, you might be overwhelmed by the number of options available on the market. How do you know which one is right for you? What features should you look for? How much should you spend?
To help you with your decision, we have picked some of the best audio interfaces for guitarists in 2023, based on their features, quality, price, and reviews.
1. Focusrite Scarlett 2i2 (3rd Gen)
This is the ultimate audio interface for guitarists who want to record high-quality sound with minimal hassle. The Focusrite Scarlett 2i2 is one of the most popular and best-selling audio interfaces for guitarists, and for good reason.
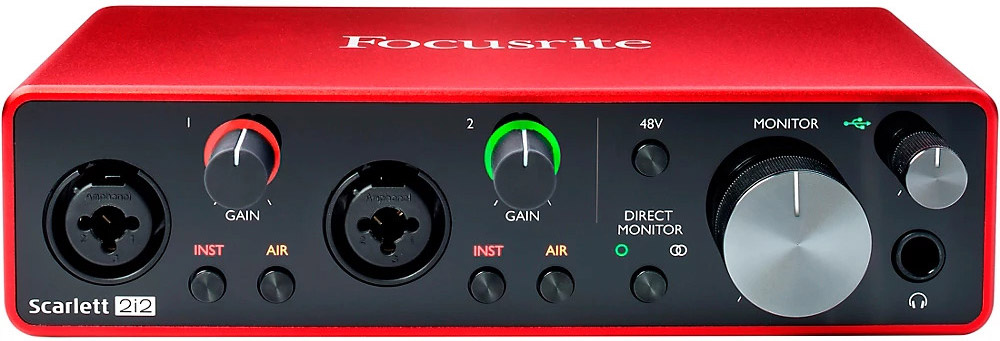
This sleek and compact device lets you plug in your guitar and microphone at the same time, thanks to its two combo inputs that can accept both XLR and TRS cables. You can also connect your speakers and headphones to its two balanced outputs and headphone output, and control their volume with dedicated knobs.
The Focusrite Scarlett 2i2 delivers a clear and natural sound, thanks to its high-quality preamps and high-performance converters that support up to 24-bit/192kHz resolution. It also has a USB-C connection that works with both PC and Mac, and comes with a bundle of software and plugins that can enhance your recording experience.
Easy to use and carry around, making it ideal for home studios, mobile recording, and live performances. The Focusrite Scarlett 2i2 costs around $160.
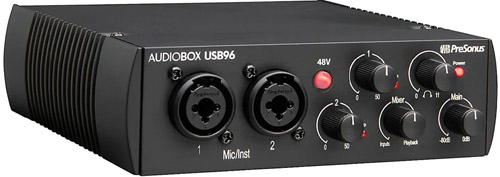
2. Presonus AudioBox USB 96
This is the perfect audio interface for guitarists who are looking for an affordable and reliable audio interface. The Presonus AudioBox USB 96 is another great option for guitarists who want to record their sound on their computer.
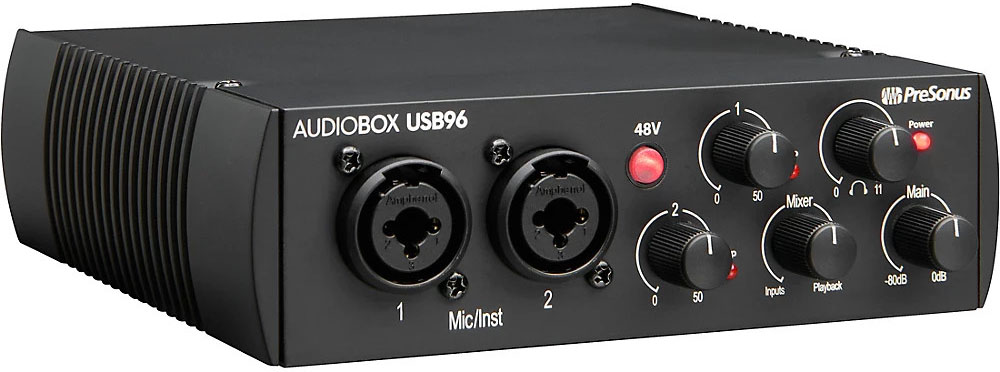
This sturdy and durable device lets you plug in your guitar and microphone at the same time, thanks to its two combo inputs that can accept both XLR and TRS cables. You can also connect your speakers and headphones to its two balanced outputs and headphone output, and control their volume with dedicated knobs.
The Presonus AudioBox USB 96 provides a clean and warm sound, thanks to its decent preamps and solid converters that support up to 24-bit/96kHz resolution. It also has a USB connection that works with both PC and Mac, and comes with a copy of Studio One Artist DAW software that can help you create and edit your recordings.
Simple and straightforward to use, making it ideal for beginners, students, and hobbyists. The Presonus AudioBox USB 96 costs around $100.
3. Audient iD4
This is the premium audio interface for guitarists who want to record high-quality sound with maximum versatility. The Audient iD4 is a high-end audio interface that offers a lot of features and flexibility for guitarists who want to record their sound on their computer.
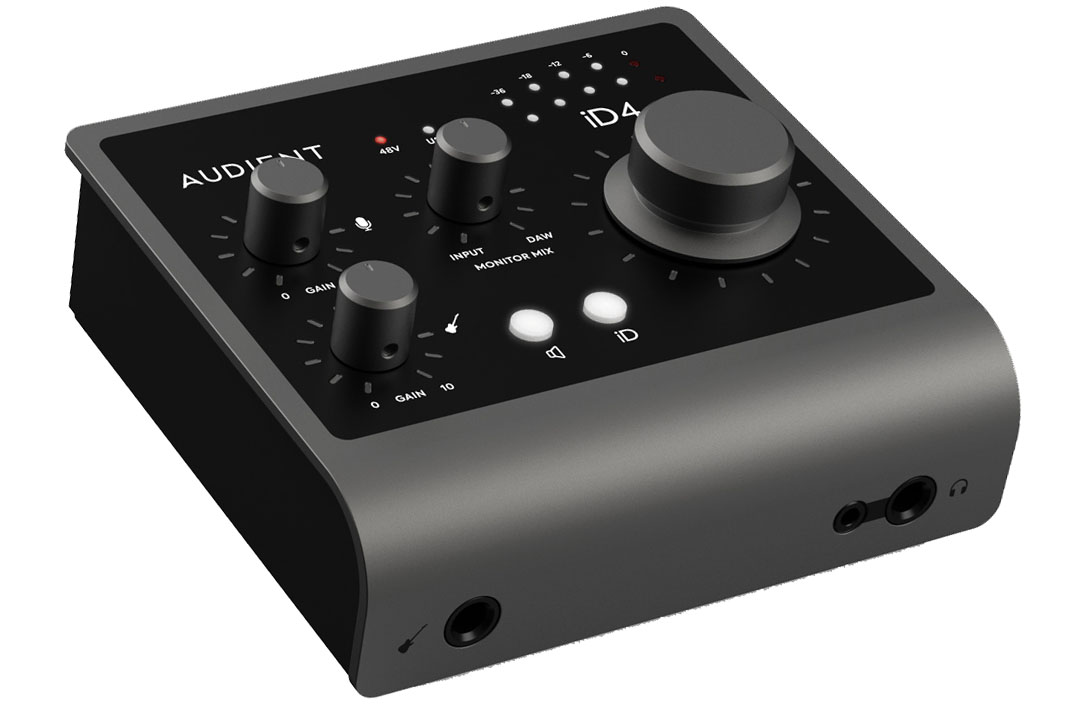
This stylish and elegant device lets you plug in your guitar or microphone to its combo input that can accept both XLR and TRS cables. You can also plug in your guitar directly to its DI input without using an amp or a pedal, giving you a pure and direct sound. You can also connect your speakers and headphones to its two balanced outputs and headphone output, and control their volume with dedicated knobs.
The Audient iD4 delivers a rich and detailed sound, thanks to its excellent preamps and superb converters that support up to 24-bit/96kHz resolution. It also has a USB connection that works with both PC and Mac, and comes with a range of software and plugins that can improve your recording quality.
Easy to use and control, making it ideal for professionals, enthusiasts, and musicians who want more options and control over their sound. The Audient iD4 costs around $200.
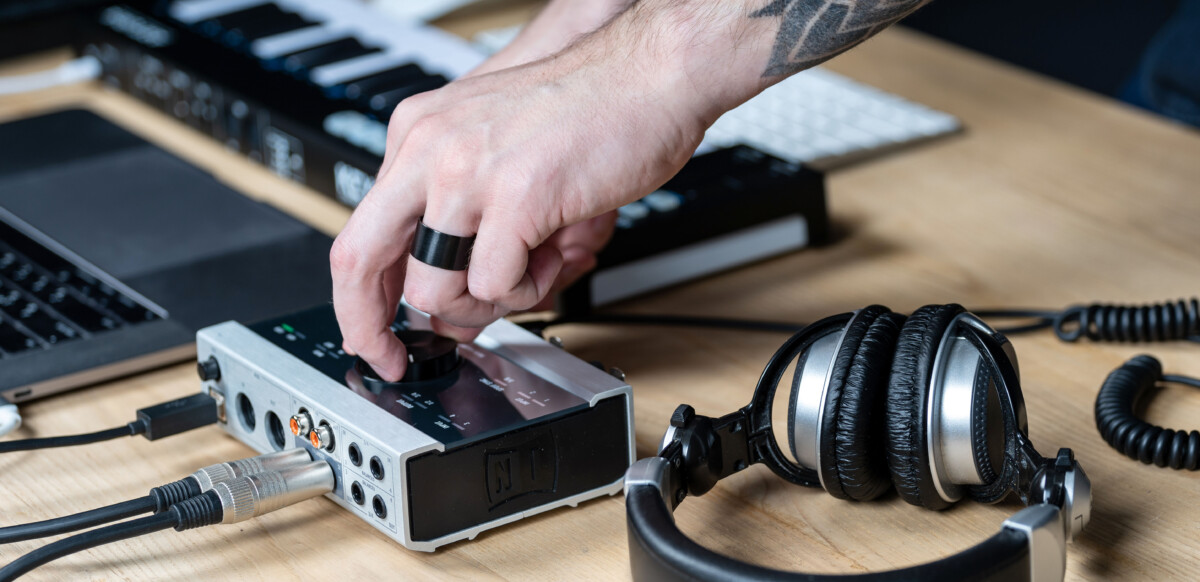
How to Use Your Audio Interface Effectively
Once you have chosen your audio interface, you will need to set it up properly and use it effectively to get the best results from your recordings. Here are some tips on how to use your audio interface effectively:
- Read The Manual: This might sound obvious, but it’s important to read the manual of your audio interface before using it. The manual will provide you with the instructions on how to install, connect, configure, and troubleshoot your audio interface. It will also explain the features and functions of your audio interface, and how to use them effectively. Reading the manual can save you a lot of time and hassle, and help you avoid any potential problems or errors.
- Install The Drivers and Software: Depending on your audio interface model and computer system, you might need to install some drivers or software to make your audio interface work properly. Drivers are programs that allow your computer to communicate with your audio interface, and software are programs that allow you to control and adjust your audio interface settings.
You can usually find the drivers and software on the website of your audio interface manufacturer, or on a CD or USB stick that comes with your audio interface. Make sure to download or install the latest version of the drivers and software, and follow the instructions carefully.
- Connect Your Devices: Once you have installed the drivers and software, you can connect your devices to your audio interface. You will need a cable that matches the input type of your audio interface, such as XLR, TRS, or RCA. You will also need a cable that matches the output type of your audio interface, such as TRS, RCA, or optical.
Plug one end of the input cable into your guitar or microphone, and the other end into the input of your audio interface. Plug one end of the output cable into the output of your audio interface, and the other end into your speakers or headphones. Make sure to turn off your devices before connecting or disconnecting them, and avoid plugging or unplugging them while they are on.
- Configure Your Settings: After connecting your devices, you can configure your settings on your audio interface and computer. You will need to select your audio interface as the input and output device on your computer system preferences or sound settings. You will also need to select your audio interface as the input and output device on your DAW or recording software.
You will also need to adjust the sample rate and buffer size on your audio interface and computer. The sample rate is the number of times per second that your audio signal is measured and converted into digital data. The buffer size is the amount of data that is stored in memory before being processed by your computer.
A higher sample rate and a lower buffer size can result in a better sound quality and a lower latency, but they can also consume more CPU power and cause glitches or dropouts. A lower sample rate and a higher buffer size can result in a lower CPU usage and a more stable performance, but they can also cause a lower sound quality and a higher latency. You will need to find a balance between these settings that works best for your system and recording needs.
- Set Your Levels: The last step before recording is to set your levels on your audio interface and computer. You will need to use the gain knobs on your audio interface to adjust the input level of your guitar or microphone. You want to set the gain level high enough to get a clear and loud signal, but not too high that it causes distortion or clipping.
You can use the LED indicators or meters on your audio interface or computer to monitor your input level. You will also need to use the volume knobs on your audio interface or computer to adjust the output level of your headphones or speakers. You want to set the volume level comfortable enough to hear your sound, but not too loud that it damages your hearing or equipment.
How to Record Your Guitar with Your Audio Interface
Now that you have set up and used your audio interface effectively, you are ready to record your guitar with it. Here are some tips on how to record your guitar with your audio interface:
1. Create a New Project
The first thing you need to do is to create a new project on your DAW or recording software. A project is a file that contains all the tracks, settings, effects, and edits of your recording session. You will need to name your project, choose a location to save it, and select a sample rate and bit depth for it.
The sample rate and bit depth are the same as we discussed earlier, but they apply to the final output of your recording rather than the input. Generally speaking, a higher sample rate and bit depth can result in a better sound quality, but they can also take up more disk space and processing power.
2. Create a New Track
The next thing you need to do is to create a new track on your project. A track is a layer of sound that can be recorded, edited, mixed, and processed separately from other tracks.
You will need to name your track, choose an input source for it (such as input 1 or 2 on your audio interface), and select a recording mode for it (such as mono or stereo). You can also adjust the volume, pan, and effects of your track using the sliders and knobs on your DAW or recording software.
3. Record Your Guitar
The final thing you need to do is to record your guitar on your track. You will need to arm your track for recording by clicking on the record button or pressing the R key on your keyboard. You will also need to start the playback by clicking on the play button or pressing the spacebar on your keyboard. You will see a red line moving across your track, indicating that it is recording.
You can play your guitar as you normally would, and you will hear your sound through your headphones or speakers. You can stop the recording by clicking on the stop button or pressing the spacebar again. You will see a waveform representing your recorded sound on your track.
You can play back your recording by clicking on the play button or pressing the spacebar again. You can also edit, trim, cut, copy, paste, delete, or undo your recording using the tools and commands on your DAW or recording software.
4. Repeat the Process
If you want to record more tracks, such as vocals, drums, bass, keyboards, or other instruments, you can repeat the process of creating a new track and recording your sound on it. You can also record multiple tracks at the same time if you have enough inputs and outputs on your audio interface and computer.
You can also overdub or layer your tracks by recording over an existing track without erasing it. You can also mix and master your tracks by adjusting their volume, pan, EQ, compression, reverb, delay, and other effects using the sliders and knobs on your DAW or recording software.
Finally
Recording guitar with an audio interface can be a fun and rewarding experience. It can help you capture your sound with high quality and flexibility, and allow you to create and share your music with others. However, choosing and using an audio interface can also be a challenging and confusing task.
There are many factors to consider, such as budget, goals, computer, software, preferences, settings, levels, and more. In this article, we have tried to guide you through the process of choosing and using an audio interface for recording guitar. We have also reviewed some of the best audio interfaces for guitarists in 2023, and given you some tips on how to record your guitar with them.